Configuring and using FileZilla
How to configure the FTP FileZilla client to transfer files to a remote server.
FileZilla is an FTP (File Transfer Protocol) client that supports multiple operating systems (Windows, Linux, Mac OS X), very easy to use and also available in Italian. It is used to transfer files from or to remote servers that have an FTP server. The following is a description of a possible customised configuration of the interface, which makes it easier to use the programme.
In addition, a video guide is available on our YouTube channel:
Filezilla: installing and using the FTP client
Download and installation
- Download the latest version of FileZilla Client (for your operating system) from the following link filezilla-project.org
- Start the installation in the most appropriate way depending on your operating system. For example, for Windows, to which the images in this guide refer, simply double-click on the downloaded executable.
Interface configuration
The first time the programme is run, a window similar to the one below will appear:
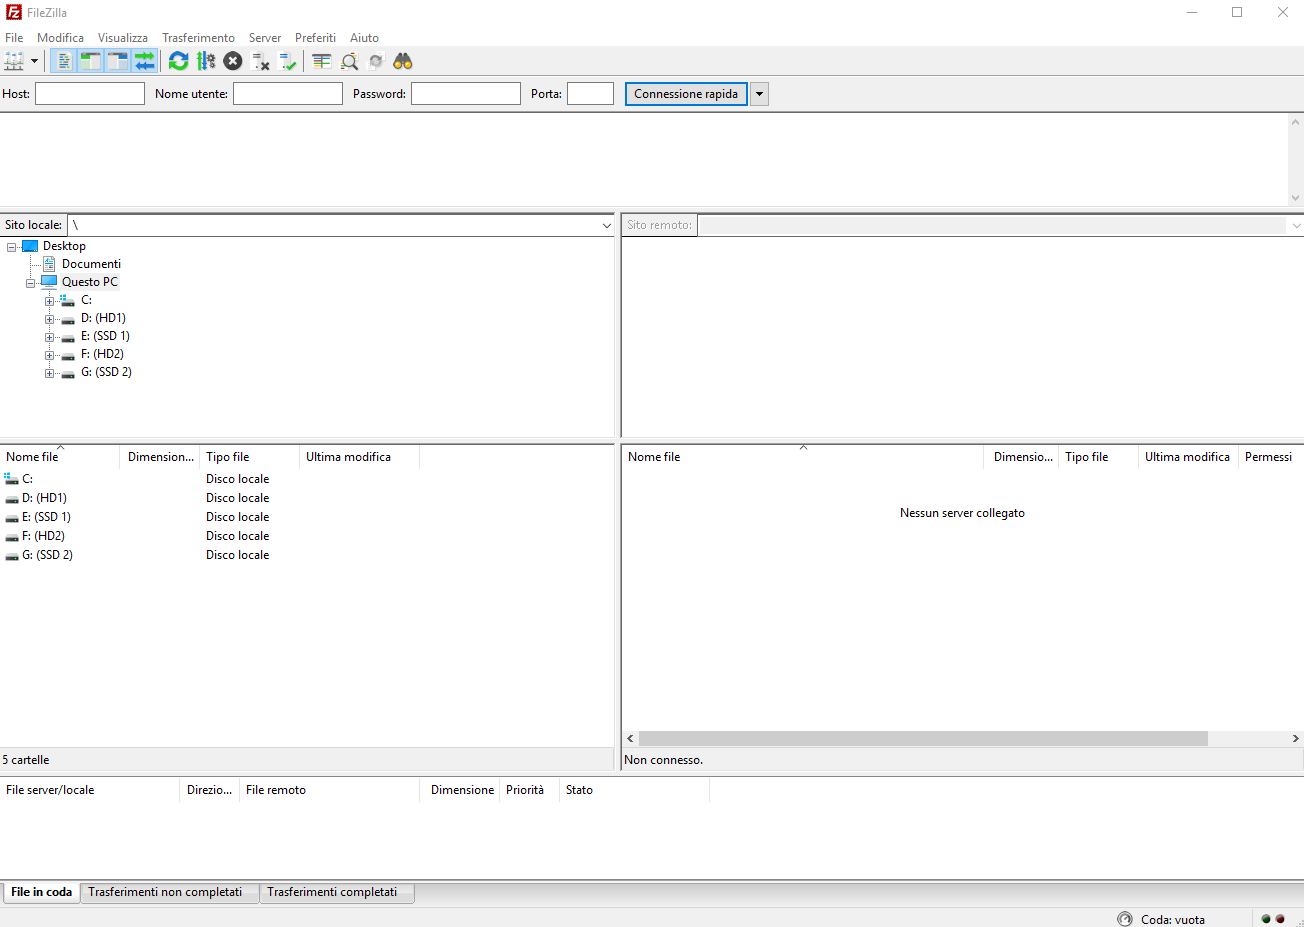
Below is a description of a possible customised configuration of the interface that makes it easier to use the programme. However, the options can be modified differently according to the user's needs.
- Open the View menu and remove the check mark () from Message Log, Local Folder Structure, Remote Folder Structure, Transfer Queue
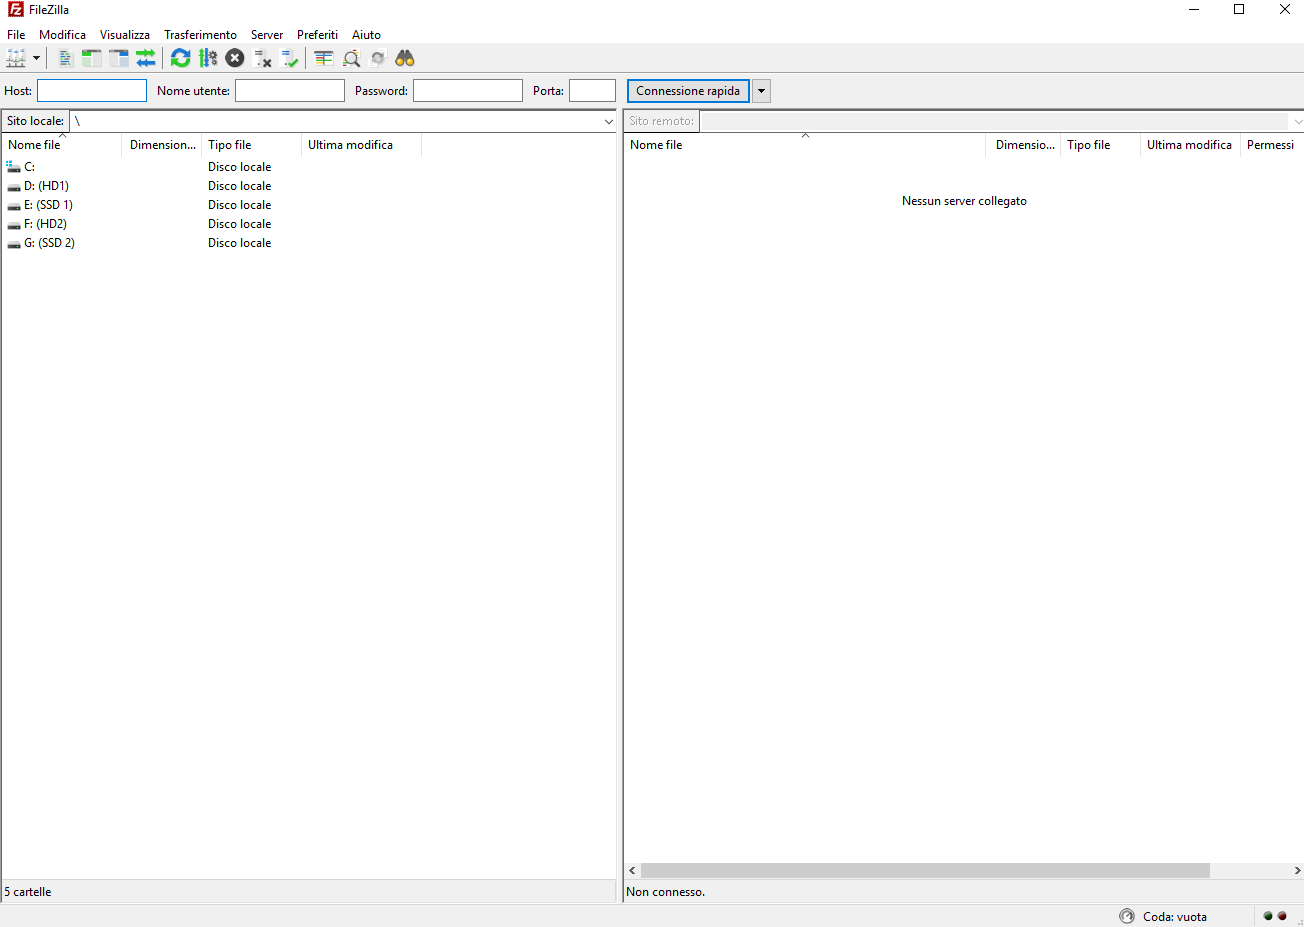
- The result will be very similar to the following figure:
FTP Access Configuration
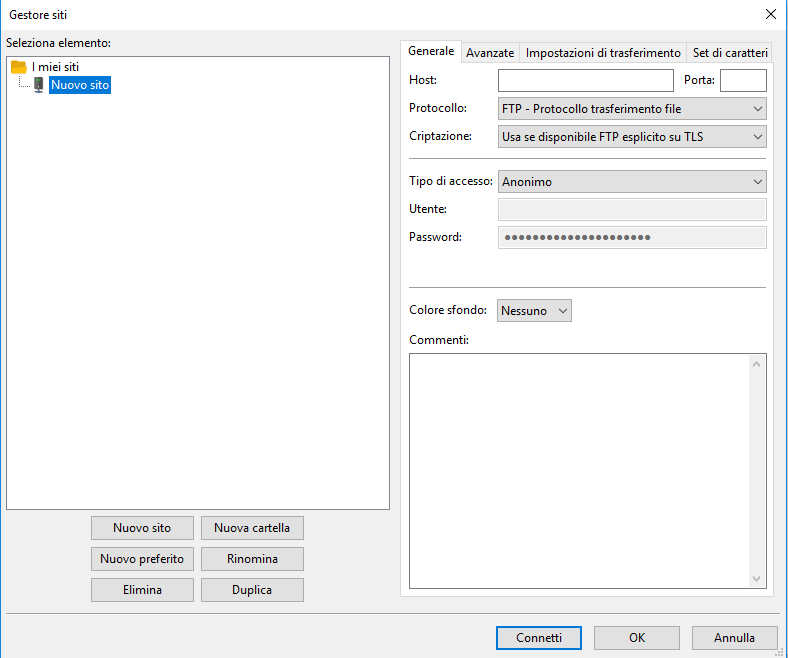
Access the configuration from the File menu, Site manager and then follow the steps in the General tab:
- click on the New Site button;
- give the site a name, e.g. mysite.it;
- enter the server's IP address (or name) in the Host field;
- select Normal from the Access Type drop-down menu;
- enter the username and password(credentials sent to the email account indicated when subscribing to the service and / or registration to the Hosting Solutions site);
WARNINGTo avoid inadvertently copying spaces and/or special characters, we recommend that you do not use copy-paste but enter your username and password manually;
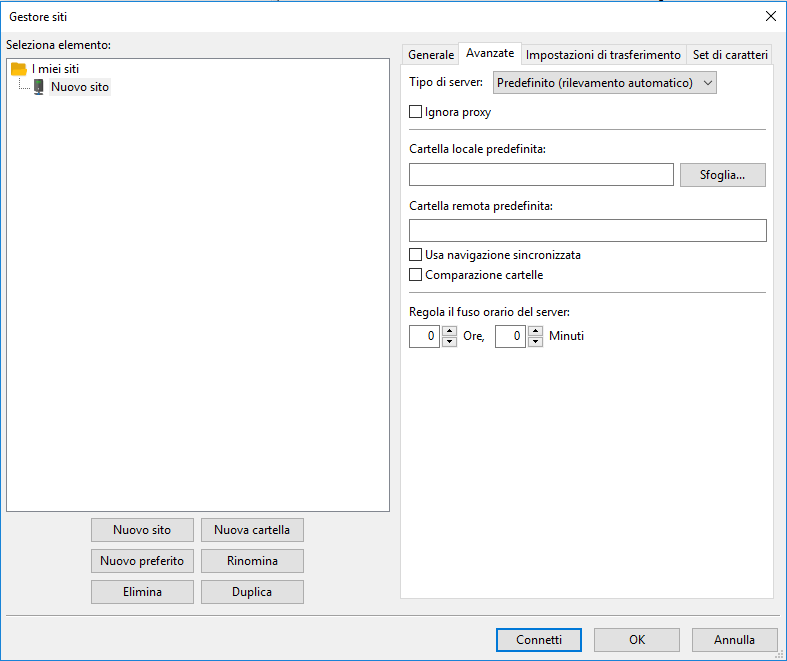
- before saving the configuration, enter the advanced settings by selecting the Advanced tab on the right.
- On the Advanced tab, set the default local folder, that is the folder on your PC where the files to be published (transferred) are located;
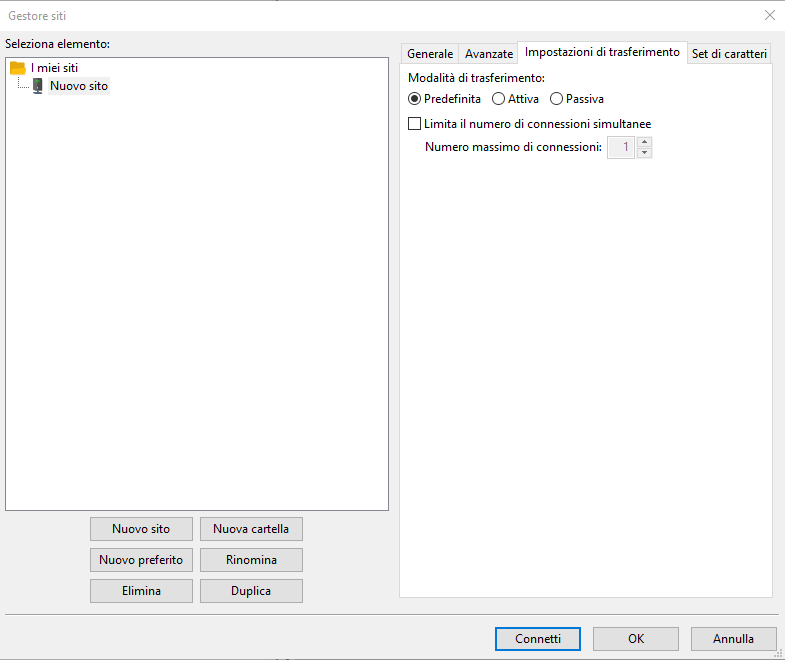
- On the Transfer Settings tab, indicate the transfer mode, that is to say whether or not to enter passive mode [more information].
File Transfer - Publish Site
- Click on the icon shown in the figure and select the site created in the previous steps. The connection to the server will be automatic
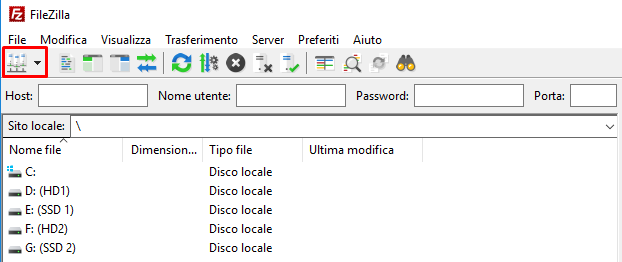
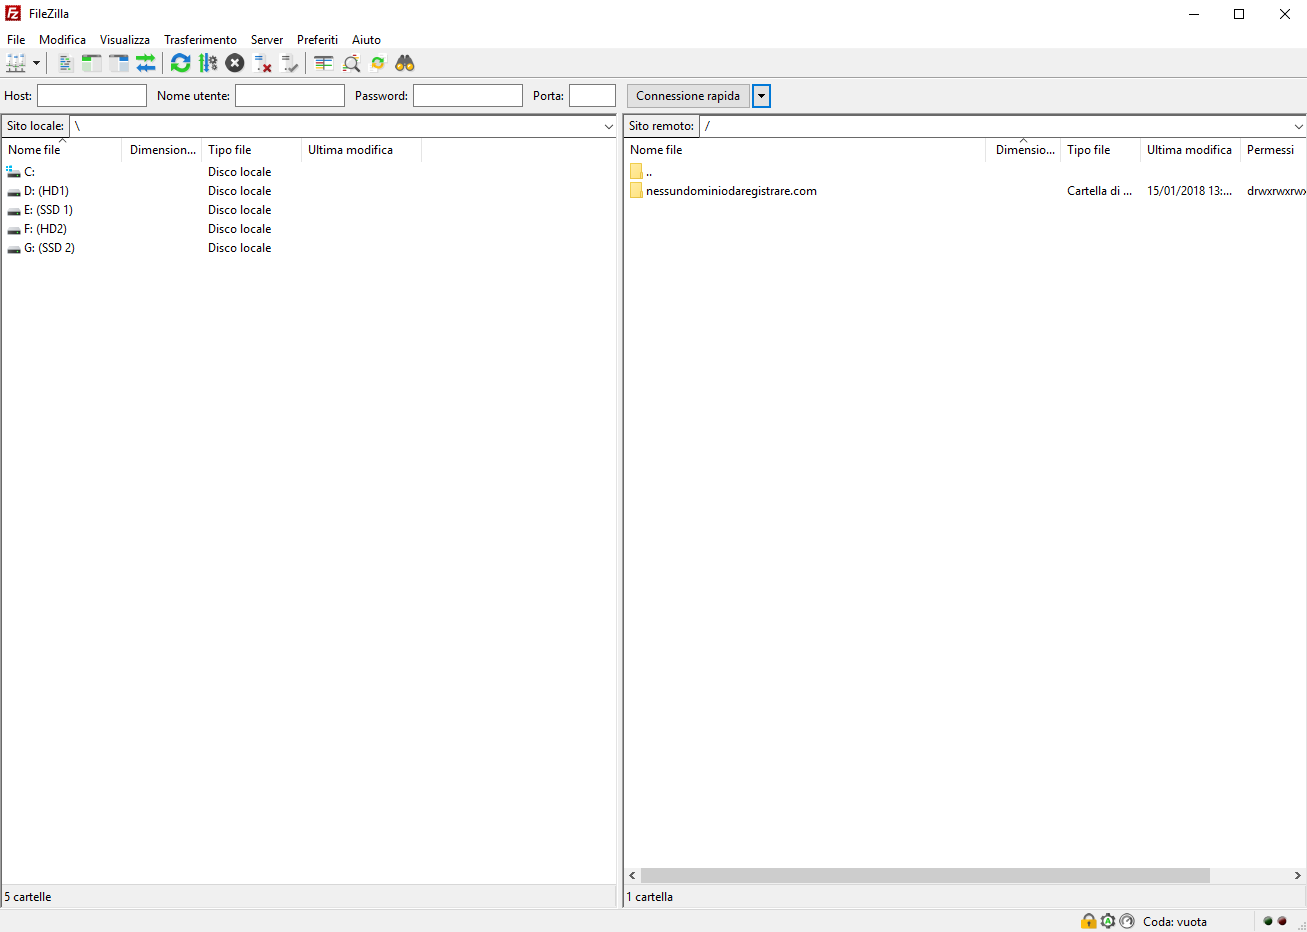
- The left window shows the contents of the local disk and the right window the contents of the remote server.The file transfer (and therefore the publication) is done by dragging the files from the left window to the right window.a.
CAUTION Files must be published (transferred) whitin the site folder (in the example: www.nodomaintoregister.com).