Install WordPress and Joomla! in just a few clicks
With the control panel wizard you can start your WordPress or Joomla! site right away
To install WordPress or Joomla! on your hosting plan, first log in to the control panel using the credentials you received when the service was activated.
In the list of active services:
- locate the hosting plan where you want to install WordPress or Joomla!
- click "Manage"
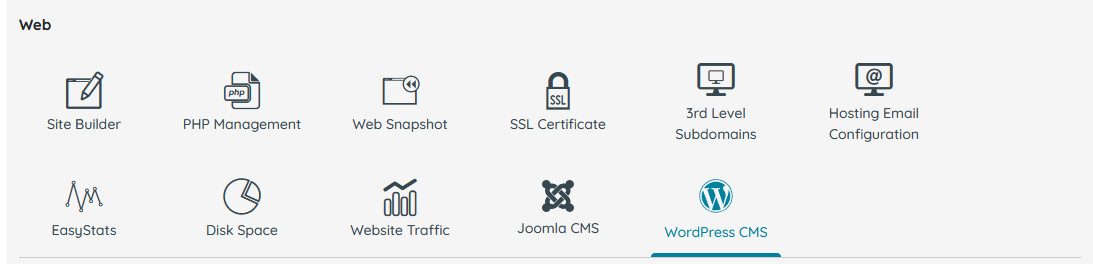
- select the "WordPress CMS" or "Joomla CMS" icon in the Web section (see image)
Enter the installation details
At this point, you will be asked to fill in the information required to complete the installation.
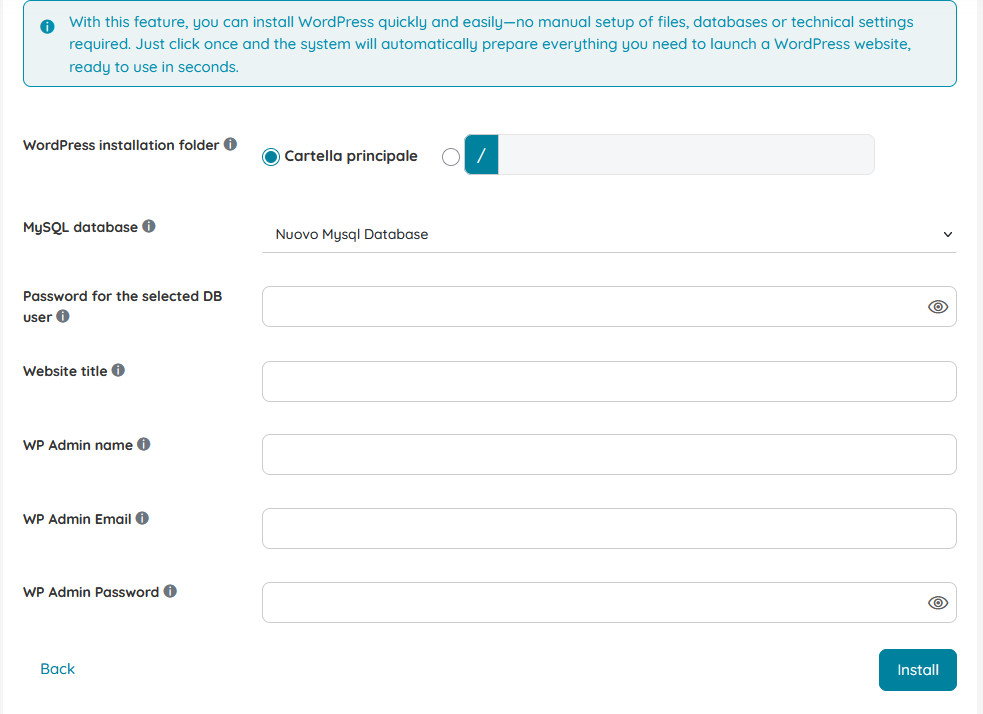
The required fields are:
- Installation folder: you can choose a new folder or an existing one.
Note: If the folder already contains a previous installation, it will be overwritten in the case of Wordpress, while in the case of Joomla! the installation will not be able to proceed until the folder is completely cleaned - MySQL Database: you can use an existing database or create a new one
- DB user password: if the database is new, also set a password, otherwise provide the pre-existing database password
- Website title: this is the name that will appear in the CMS administration area
- Admin username (WP/JL Admin): this will be the main administrator account with full permissions
- Admin email: the email address linked to the administrator account
- Admin password: the password used to log in as the admin user
After filling in all the fields, click "Install": once the installation is complete you will see an installation success message.
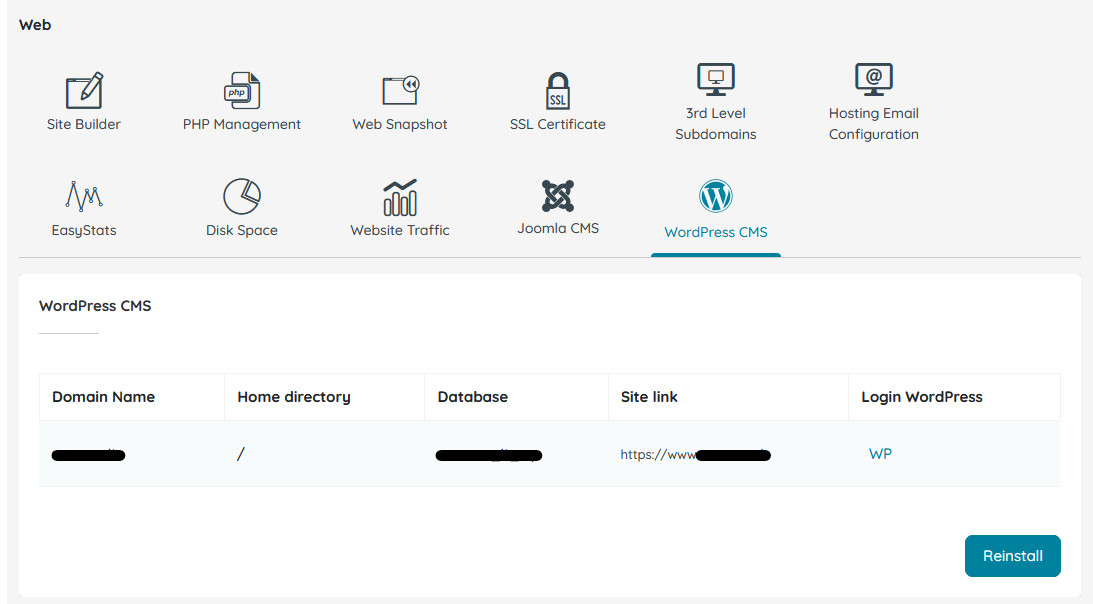
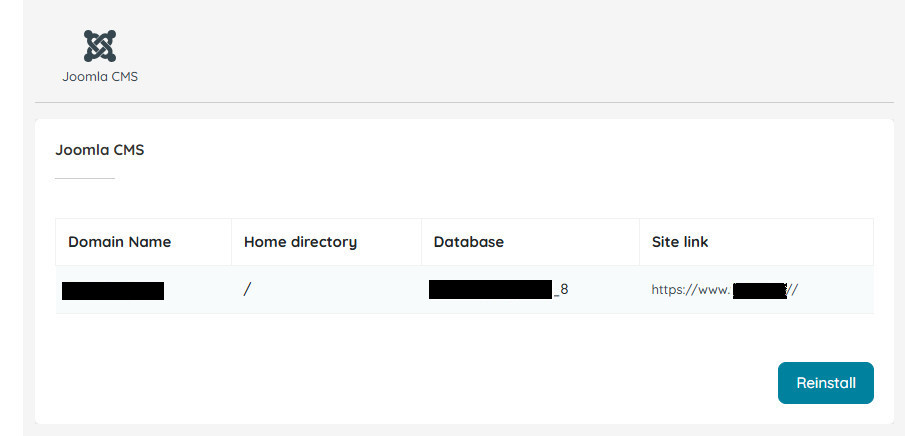
If the installation was successful, by clicking the "WordPress CMS" or "Joomla CMS" icon in the "Web" section again, you will see a summary area with the main site information, including: associated domain, installation folder, database used, site URL, direct link to the WordPress login page, as well as a button for a possible reinstallation.