
Antivirus Antispam for Shared Email service
How to activate the antispam and antivirus filters
This guide shows you how to activate antivirus and antispam filters on one or more accounts (Shared Email service).
The steps to activate the filters are described below.
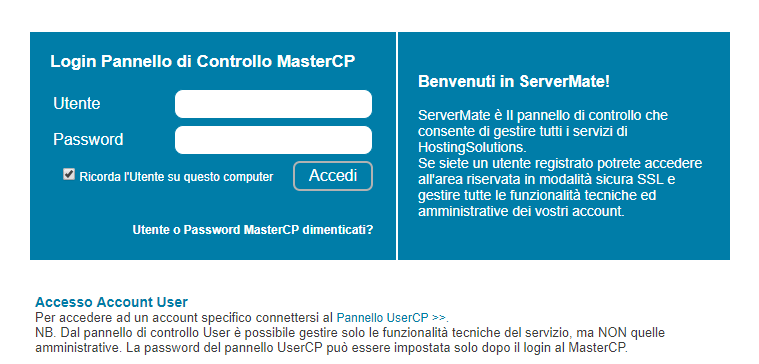
Once you have placed your order and received the activation confirmation email, click on the button at the top right of the website, User Area, and connect to the control panel with your access credentials. If you do not remember your username and/or password, you can start the recovery procedure by clicking on Forgotten MasterCP User or Password?.
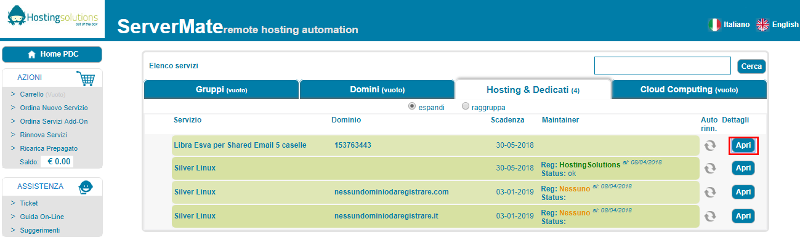
Once logged in, locate the Libra Esva service (Hosting & Dedicated tab) and click on the Open button:
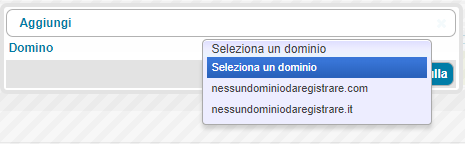
Click on the Antivirus Spam Filters icon and the Add button::

Then, select the desired domain from the drop-down menu.
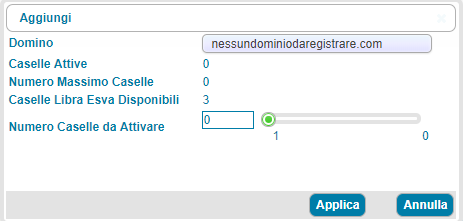
Indicate the number of accounts for which the filters are to be activated (important: protection applies at domain level, so it must be applied to all accounts in the domain in order to be able to use it) and click on the Apply button:
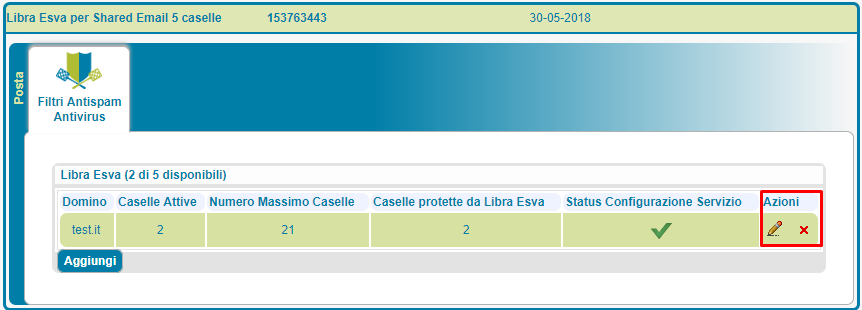
In the section Antivirus Antispam Filters the domain will be shown with the relative accounts protected by the service. By clicking on the X icon, it is possible to deactivate the filters on all accounts; by clicking on the pencil icon it is possible to change the number of accounts to be protected.
Customise filters
Once the filters have been activated from our control panel, you can log in with your credentials to the LibraEsva panel to customise the filters to suit your needs.