
Email Management - Administration of email accounts
To manage the email accounts of a domain, Hosting Solutions provides a practical administration panel, which is totally anonymous (thus also suitable for resellers of the service) and easy to use.
The main functions are briefly explained below:
- creating an account,
- setting up email forwarding,
- creating an autoresponder,
- creating an alias,
- changing the administrator's password.
It is possible to access the administration panel by clicking on the following link Manage Accounts (Gestione Caselle)
How to manage the email accounts of a domain
To log in, it is necessary to provide the name of the mail domain (e.g. demo.test) and the password of the postmaster account (e.g. postmaster@demo.test) received when the service was activated.
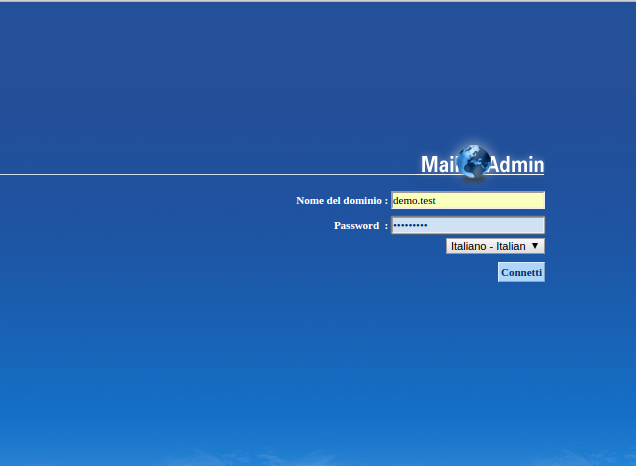
ATTENTION The password for the postmaster account is always the same as the administration password for the email service. Consequently, if this password is changed, please note that the password to access the Account Management panel will also change.
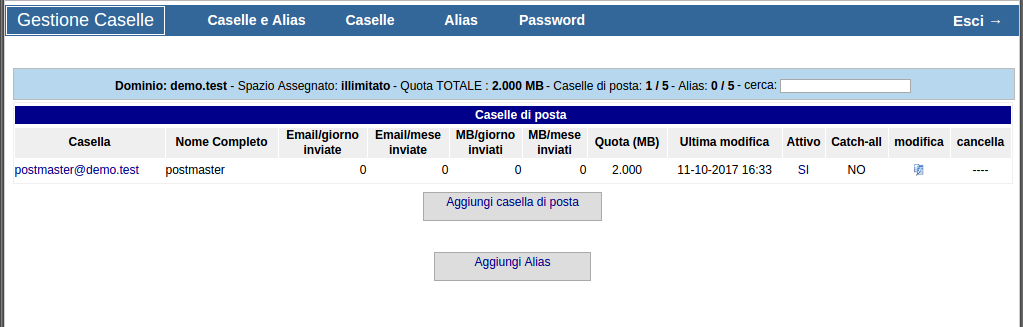
Once logged in (Connect button), the main screen of the application will display the menu shown in the following image:
How to add an email account
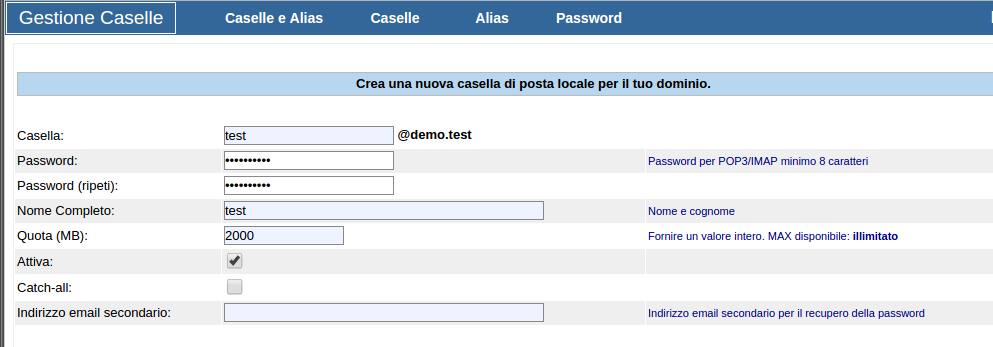
To create a new account, simply enter the following details:
- Casella (account): the name of the account, in the example test, not including @demo.test, which will be added automatically;
- Password: the password for the account;
- Nome Completo (full name): This is the name that will be displayed to the recipient of messages sent via webmail. This is generally the full name of the user of the account.
- Quota (MB): size of the email account in MegaBytes, by default 2000 (2 GB), which can be expanded to the maximum size specified when creating the mail domain.
- Attiva (active):If checked, the account is active.
- Catch-all: account that collects all messages sent to non-existent accounts in the domain.
- Indirizzo email secondario (secondary email address): alternative address required for password recovery.
How to set up email forwarding
Forwarding is a program that allows messages sent to an account to be forwarded to one or more destination accounts, internal or external to the mail domain; for example, in the image below, messages sent to the account test@demo.test will be forwarded to the addresses specified in the box provided, in the example to postmaster@demo.test and test@nomedominio.it.

Configuration is done by entering the list of forwarding addresses in the Inoltra a (Forward to).
If there is more than one forwarding address, enter only one per line.
How to create an autoresponder
An autoresponder is a program that, when activated, sends an automatic reply to each message received from the account.
To configure an autoresponder, make the following settings:
- Attivo (active): by ticking the box, the autoresponder is activated.
- Oggetto (subject): subject of the auto-reply message.
- Testo (text): text of the auto-reply message.

How to create an alias
Creating an alias address (alternative name) allows you to receive mail on domain addresses that do not correspond to physical accounts; these messages will automatically be delivered to one or more existing accounts.
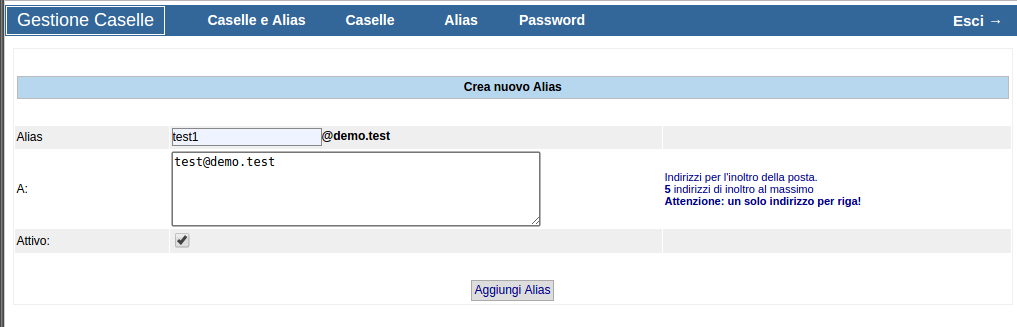
To create an alias, click on the Aggiungi Alias (Add Alias) button in the main window of the panel and provide the following details:
- Alias: name of the alias to be created; in the example test1, not including @demo.test which will be added automatically;
- A (to): list of addresses to which emails sent to alias addresses should be delivered; PLEASE enter only one per line.
- Attivo (active): tick the box to activate the alias.
ATTENTION Forwarded emails will retain the original sender: any SPF record settings of the original sender's domain may prevent the alias from being received by the recipient.
How to change the administrator's password
To change the administrator (postmaster) password, click on Password in the main menu and enter the old and new passwords as shown in the following image.
ATTENTION As previously pointed out, changing the postmaster password will also change the password for accessing the Account Management panel.
